Hello, fellow plant lovers! Are you looking for a way to green up your living space and boost your meals with homegrown nutrition, even if you’ve only got a tiny nook of sunlight to work with? Microgreens are your answer! These tiny powerhouses are not only easy to grow, but they’re also ready to harvest in just a couple of weeks. Perfect for beginners and seasoned gardeners alike, let’s explore how you can start your very own microgreen garden right on your windowsill.
What are Microgreens?
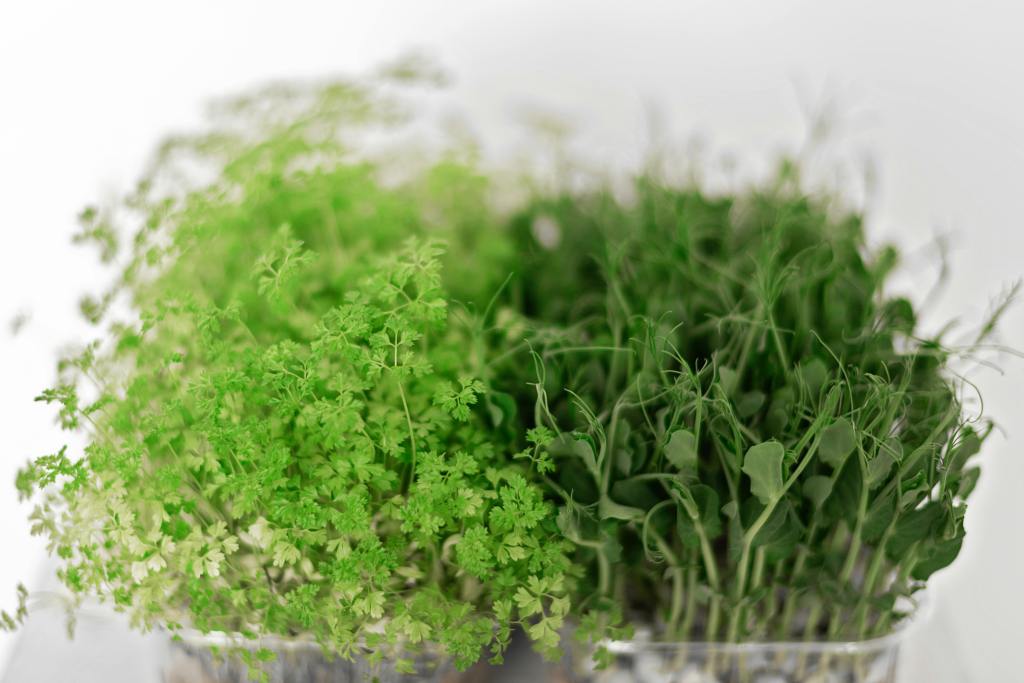
Microgreens are young vegetable greens harvested just after the first leaves have developed. They are smaller than baby greens and are used both as a visual and flavor component in dishes. Packed with nutrients, microgreens can contain higher vitamin, mineral, and antioxidant levels than the same quantity of mature greens. From spicy radishes to sweet peas, these little leaves can add a punch of flavor and color to any meal.
Getting Started: What You’ll Need
Containers
You can start with something as simple as an old baking tray or takeout containers. Make sure whatever you use has drainage holes to prevent waterlogging.
Growing Medium
While you can grow microgreens hydroponically, I recommend beginners start with a soil mix or coconut coir. These mediums retain moisture well and are forgiving for new gardeners.
Seeds
Choose fast-germinating seeds like radish, kale, arugula, and mustard for your first crop. These are not only easy to grow but also pack a lot of flavors.
Light Source
Microgreens need about four to six hours of light daily. A sunny windowsill is perfect, but if you’re short on natural light, a simple grow light will do the trick.
Step-by-Step Guide to Growing Microgreens
Step 1: Preparing Your Growing Medium
Fill your container with soil, leaving about half an inch of space at the top. Moisten the soil with water, ensuring it’s damp but not soggy.
Step 2: Sowing the Seeds
Sprinkle the seeds evenly across the surface of the soil. There’s no need to cover them; just press them gently into the soil to ensure they make good contact.
Step 3: Germination
Cover your container with another tray or a light cloth to create a dark, moist environment. Check daily and mist with water to keep the soil moist. You should see sprouts in 3-4 days.
Step 4: Light Exposure
Once your seeds have sprouted, remove the cover and expose them to light. This is where they start to grow rapidly!
Step 5: Watering Techniques
Water your microgreens gently to avoid disturbing the roots. A spray bottle is perfect for this. Keep the soil consistently moist.
Caring for Your Microgreens
Monitoring Growth
Watch for the first set of true leaves as a sign that they’re almost ready to harvest. Make sure they’re not overcrowded, as this can lead to mold.
Common Issues and Troubleshooting
If you see mold or your microgreens are not sprouting evenly, ensure better airflow and adjust your watering practices. Light issues can often cause weak, leggy plants, so make sure they’re getting enough rays.
Harvesting Your Microgreens
When to Harvest
Most microgreens are ready to harvest in about 14-21 days after sowing, once their first true leaves emerge.
How to Harvest
Use scissors to snip the greens just above the soil line. Handle them gently to avoid bruising.
Storage and Usage Tips
Microgreens are best used immediately but can be stored in the refrigerator for a couple of days. Wash them right before use and add them to salads, sandwiches, or as a garnish for a nutritional boost and a splash of color.
Benefits of Growing Microgreens
Health Benefits
These little greens are nutrient powerhouses, often containing higher levels of vitamins and antioxidants than mature vegetables.
Environmental Impact
Growing your own greens reduces the need for plastic packaging and long transportation distances associated with store-bought greens.
Educational Opportunity
Growing microgreens can be a great educational project for kids or anyone interested in gardening, teaching valuable lessons about plant biology in a fun and accessible way.
Microgreens are a fabulous introduction to indoor gardening, and with just a little effort, you can enjoy fresh, nutritious greens year-round.
